
Carving Printing Blocks with a CNC Router
- Rheanna Gilbert
- Feb 21, 2021
- 4 min read
Almost halfway through the last semester of my degree, my capstone project is finally starting to physically come together! The first and lengthiest step in making my block printed and naturally dyed yoga and meditation collection is creating the printing blocks. The blocks have been my main focus so far in this semester and there’s still plenty of work to be done before the printing can begin. I am thrilled with the prototype block that I cut from MDF using the CNC router, and I’m really looking forward to carving the final repeat pattern blocks in maple.
Fig. 1 CNC Router Cutting Prototype Printing Block

Fig. 2 Fully Craved Prototype Printing Block
I have very recently decided to add a cork yoga block to the collection with surface designs engraved using the CNC as well. I’m very excited about this new addition since I believe that it ties the collection together, makes it more active, and speaks beautifully to the block printing technique. Also, the fact that users can receive impressions of the plants on their skin when they put pressure on the block is so poetic and ties seamlessly into my themes of connection and relationships with nature. This theme is driven home even further through the purpose of the plant-covered yoga block – support and expansion.

Fig. 3 CNC Engraved (High Density) Cork Sample
Knowing the capabilities of the CNC, I felt prepared to assemble my three main surface designs. Although they will all be three colour prints, I am establishing the designs from the ‘outline’ of the motifs, then creating the template for the fill block based on that. In order to design motifs that looked hand-carved, I drew them all by hand, going over the lines with a thin marker over and over again until the desired thickness had been achieved. This allowed me to create lines of uneven weight, resembling hand-carved block prints. Using the Adobe Capture app, I was able to create vector files of these drawings, and from prints I had made with my previously hand-carved sample blocks. This made it super easy to arrange the motifs in Adobe Illustrator, pulling them right from my creative cloud library. Sometimes I love technology.

Fig. 4 Hand Drawn Motifs
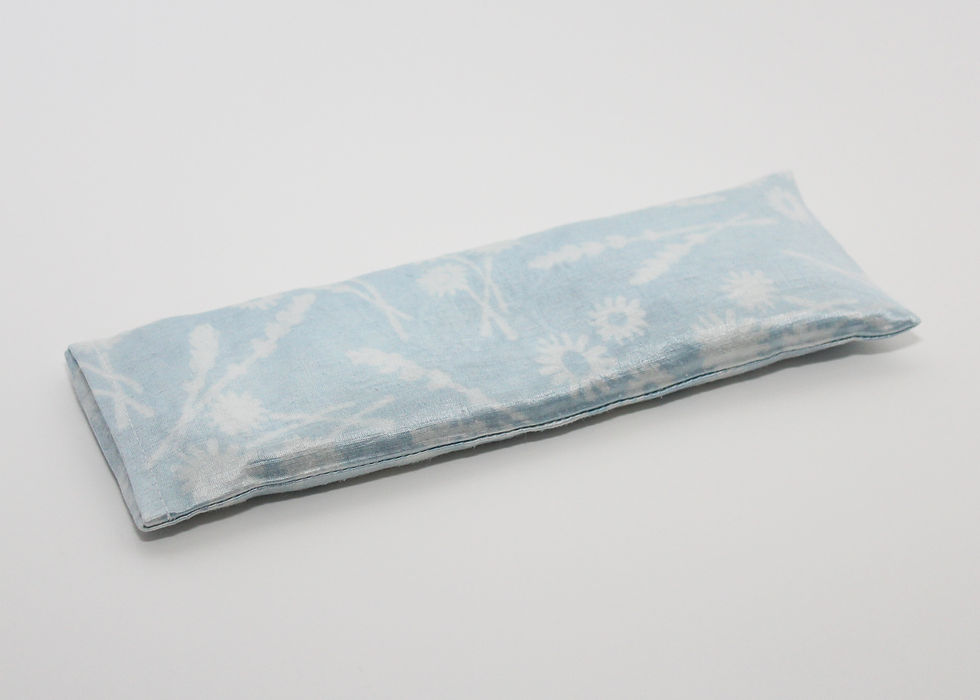
I have designed patterns for both the eye pillow and the yoga bag, but have yet to design the meditation cushion imagery. I want to create a few more versions of these and refine them a bit more before the blocks are carved, but I’m very happy with the direction they are going. Again, these are only the outlines but the final prints will include a fill colour and a background colour.

Fig. 5 Working Yoga Bag Pattern

Fig. 6 Working Eye Pillow Pattern
Initially, I intended to cut three blocks for each of the designs, allowing me to print three separate colours (line, fill, and background). However, after beginning the process of prepping end-grain blocks, I was astounded by the quantity of wood that would be required for my admittedly very large blocks (4.5”, 10.5”, and 14”). I made a quick decision to scrap the ‘background’ blocks for all three patterns in an effort to save material and minimize workload. The background blocks would’ve been nice to have, but not completely necessary as I can achieve the background colouring with mud resist for indigo, and mordant discharge for other dyes.
Even with three less blocks, I will still need to prep and carve six printing blocks and I severely underestimated the work that would be required for this. I had already accounted for quite a bit of time, but the process of programming the designs using “toolpathing” software, coupled with time constraints for CNC use and relying on others to assist me with the machine has derailed my schedule. Although I won’t have all of my printing blocks carved by mid-term critique, I am confident that I’ll have one set done and all other blocks prepared for carving.
The reason the blocks take so much time to prepare is because they must have the end-grain sticking up in order to carve small details with clean edges and avoid woodgrain texture in the print. In India they use crosscuts from the tree trunks, but the lumber that I have access to has been milled into long strips for woodworking and construction. Creating an end-grain block from this lumber requires cutting it into small, perfectly squared pieces, and gluing them all together with the end-grain facing upwards. Fortunately, I was familiar with this process from cutting board making in my elective furniture class.

Fig. 7 End-Grain Block in Clamps After Being Glued
To be perfectly honest, I am feeling the pressure of time now that the big deadline is only a couple months away. I know that it will get done and I have full confidence that it will turn out wonderfully, but there’s much work to be done. That’s all for now… wish me luck!
Fig. 1 Gilbert, Rheanna. “CNC Router Cutting Prototype Printing Block” 2021, Video.
Fig. 2 Gilbert, Rheanna. “Fully Craved Prototype Printing Block” 2021, Photograph.
Fig. 3 Gilbert, Rheanna. “CNC Engraved (High Density) Cork Sample” 2021, Photograph.
Fig. 4 Gilbert, Rheanna. “Hand Drawn Motifs” 2021, Scan.
Fig. 5 Gilbert, Rheanna. “Working Yoga Bag Pattern” 2021, Screenshot.
Fig. 6 Gilbert, Rheanna. “Working Eye Pillow Pattern” 2021, Screenshot.
Fig. 7 Gilbert, Rheanna. “End-Grain Block in Clamps After Being Glued” 2021, Photograph.


Kommentarer